Business Connectivity Services Overview:
Microsoft SharePoint Server 2010 and the Microsoft Office 2010 suites include Microsoft Business Connectivity Services, which are a set of services and features that provide a way to connect SharePoint solutions to sources of external data and to define external content types that are based on that external data. A Technet article describes in details about BCS
BCS Overview - TechnetHere I am gonna talk about how to create a SharePoint external list and then modify the data that would reflect the changes in the external source as well.
Inorder to make BCS External List working, you have to setup these 2 services.
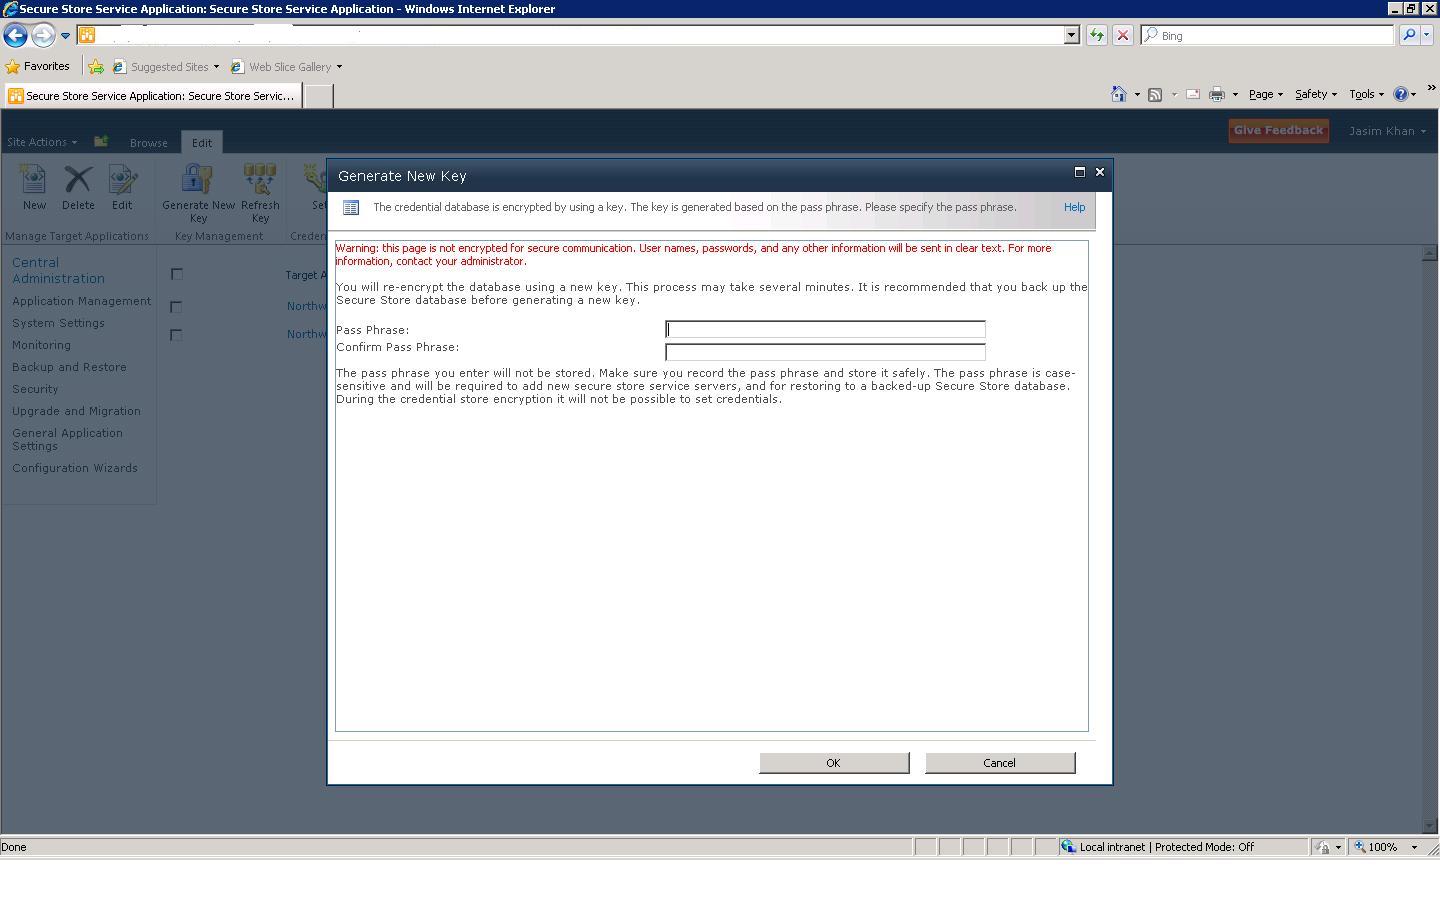
BDC Service and Secure Store Service.
Read my articles about how to setup these services
1)
BDC Service2)
Secure Store ServiceAfter setting up these services successfully we have to create external content type.
An External Content Type is an xml file that defines an object that can be used in business application. The definition could be:
* The fields of data that are contained in the object
* The methods to create, read, update, query, or delete that object
* Actions that users can take on the object
* Information that supports connecting to the external data source that provides the object’s data
Create External Content Type
a) Open SharePoint Designer 2010(SPD)
b) Open the site
c) Click on External Content Type at left panel.

d) On the ribbon top left corner click on 'External Content Type'
e) A page will be opened where you can define the name, description, data source etc.

f) Click on "click here to discover external data sources and define operations"
g) Operation Designer will be opened. Click on Add Connection to create a connection with your external data source.

h) Select 'SQL Server' as data source type

i) A new popup will be opened where you define the SQL Server Connection details.

j) On the radio buttons select 'Connect With Impersonated Windows Identity' and provide the Secure Store Application ID. (You can read up my article what is
Secure Store Application)
Note: If your external list does not work with 'Connect With Impersonated Windows Identity' then try using 'Connect With Impersonated Custom Identity'. Windows Identity worked with me.
k) Now External Content Type has been setup succesffully, lets go and create External List where we can pull the data through this connection and manipulate with the data.
Note: Try creating External Content Type on the local system where SharePoint 2010 is installed. First I tried to create ECT using remote machine, it kept asking me credentials and did not let me create the Connection to external data source.
Create External Lista) Go to your sharepoint site.
b) Click Site Actions --> View All Site Content
c) Click on Create
d) Select External List then create

e) A page will be opened; define the name of the External List and at the bottom, click on
External Content Type Picker. It will open up a popup where you can see the content type you created in the previous steps. Select the Content Type, click OK

f) Click on Create button. Your External List will be created and the data will be displayed.

h) Select check box on any row - I chose second row then click on Edit Item on the ribbon.
i) Modify data in the fields then hit Save. In my case I have fields called LastName, FirstName. I have changed the values as Lawrence, Smith

j) Screen will refresh and as you can see data has been saved in the list.
k) Now lets verify if the changes have really been reflected in the external system or not.
l) You can see in the second row, data has been modified in SQL Server table under columns LastName and FirstName.

I hope this has been informative for you.
Thanks,
JK